

TL;DR:
- Preview across multiple devices at once instead of switching simulators manually
- Test Light Mode, Dark Mode, and Dynamic Type for accessibility early
- Use mock data instead of real API calls to keep previews fast and safe
- When previews freeze, force hot reload (Cmd + Option + P) or tweak minor UI
- Debug layouts using temporary borders and background overlays
- Create reusable preview modifiers to avoid repeating boilerplate
- Simulate different view states like Loading, Error, or Empty with Groups
- (Advanced) Automate preview snapshots in CI for consistent UI testing
Introduction
SwiftUI Previews are more than just a visual gimmick—they’re a development superpower. Whether you’re an independent developer or part of a Mobile App Development Company, mastering these preview hacks can dramatically speed up your workflow, help you catch UI bugs early, and iterate with confidence.
Still hitting Run every time you tweak a button color or change padding? If so, you’re wasting crucial development time. SwiftUI Previews offer a real-time, interactive way to experiment, validate, and perfect designs without rebuilding your entire app.
In this blog, I’ll walk you through 8 essential SwiftUI Preview hacks that will make your development workflow smoother, faster, and more efficient.
What Are SwiftUI Previews (And Why You’re Underusing Them)?
SwiftUI Previews allow you to render SwiftUI views in real-time without needing to run the entire app. With Xcode’s canvas, you can visually test layouts, themes, and logic variations on the fly. But most developers just use the basic #Preview and miss out on the powerful capabilities SwiftUI Previews provide.
Let’s change that.
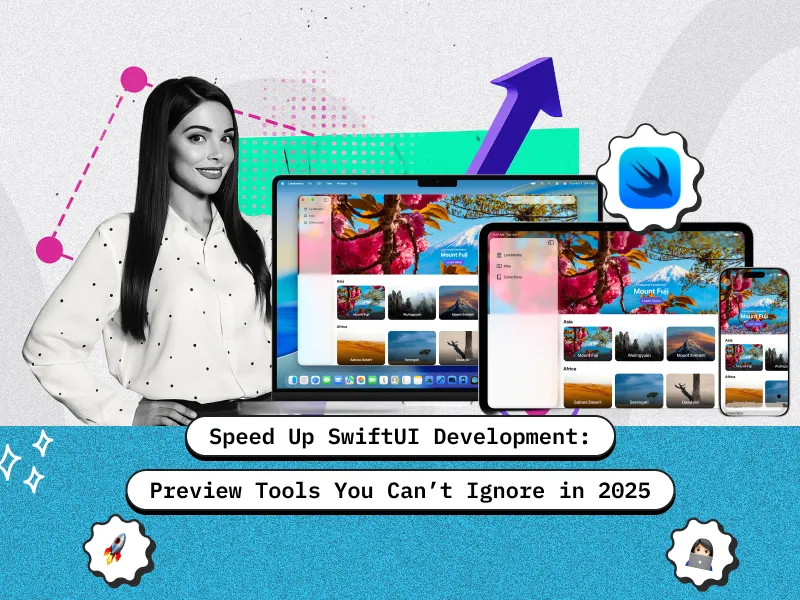
1. Preview Multiple Devices Simultaneously
Want to test your UI across iPhone SE, iPhone 14 Pro, and iPad Pro without switching simulators? Just stack previews:
#Preview("iPhone 14", traits: .device("iPhone 14")) {

    MyView()

}

#Preview("iPad Pro", traits: .device("iPad Pro (12.9-inch)")) {

    MyView()

}
Use this trick to make sure your design is responsive and scalable.
2. Preview in Light Mode, Dark Mode, and Dynamic Type
Check accessibility and color scheme compatibility with this quick hack:
Group {

    MyView()

        .preferredColorScheme(.light)

        .previewDisplayName("Light Mode")

    MyView()

        .preferredColorScheme(.dark)

        .previewDisplayName("Dark Mode")

    MyView()

        .environment(\.sizeCategory, .accessibilityExtraLarge)

        .previewDisplayName("Dynamic Type")

}
This helps you catch visual bugs early.
3. Use Mock Data Without Hitting APIs
Avoid network calls and use mock data in preview mode:
#if DEBUG

extension MyModel {

    static let preview = MyModel(name: "Preview User", age: 25)

}

#endif

#Preview {

    MyView(model: .preview)

}

Also, protect against preview-side effects:

if ProcessInfo.processInfo.environment["XCODE_RUNNING_FOR_PREVIEWS"] == "1" {

    // Load mock data

}
4. Force Hot Reload in Previews
Sometimes previews freeze. Don’t rebuild the app—trigger a manual refresh with:
- Shortcut: Cmd + Option + P
- Or make a tiny UI change like .padding(0.1) to trigger the refresh.
It’s fast and doesn’t waste your time on unnecessary compiles.
5. Debug Layouts with Borders and Backgrounds
This trick is great when you’re fighting with alignment or padding issues:
MyView()

    .border(Color.red)

    .background(Color.yellow.opacity(0.2))
Instant layout clarity!
6. Create Reusable Preview Modifiers
Avoid repetition with a custom view extension:
MyView()

    .border(Color.red)

    .background(Color.yellow.opacity(0.2))
Use it like:
MyView().previewBorder()7. Preview Multiple App States (Loading, Empty, Error)
Preview all scenarios without changing your app logic:
Group {

    MyView(state: .loading).previewDisplayName("Loading")

    MyView(state: .empty).previewDisplayName("Empty")

    MyView(state: .error("Network Error")).previewDisplayName("Error")

}
Super useful for testing error handling UI.
8. Automate Preview Testing (Optional Advanced Tip)
Want to integrate previews into CI for UI consistency? Use xcodebuild to render previews or include preview screenshots in snapshot testing tools. It’s a power move for teams.
Conclusion
SwiftUI Previews are one of the fastest ways to speed up UI iteration and eliminate guesswork. Instead of constantly rebuilding your app, use previews to test layouts, themes, and states instantly. Whether you’re an indie developer or working in a Mobile App Development Company, make previews a core part of your workflow—and watch your development pace double.
Frequently Asked Questions (FAQ)
Q1: Do SwiftUI previews work with UIKit views?
A: Not directly. You can wrap UIKit views using UIViewRepresentable to make them renderable in SwiftUI Previews.
Q2: My previews are slow or not loading—why?
A: Check for:
- Heavy computations or API calls in onAppear
- Network operations not wrapped in preview checks
- Excessive views in a Group
Use mock data and lightweight structures to improve speed.
Q3: Can I use SwiftUI previews with CoreData or Firebase?
A: Yes, by injecting mock persistence controllers or dummy Firestore data into your views, you can simulate real environments in previews.
Q4: Do previews reflect changes in assets, fonts, or color schemes?
A: Yes. Changes to assets and environment modifiers like .preferredColorScheme() and .environment(\.font) are reflected in real-time.

Nirmalsinh Rathod
Director - Mobile Technologies
Nirmalsinh is a Mobile Evangelist with 12+ years of experience and over 100 iOS and Android app releases. He specializes in crafting pixel-perfect UIs from Figma, integrating APIs, authentication, payments, and push notifications, optimizing performance, and delivering store-ready applications with clean, maintainable code.


 30 mins free Consulting
 12 min read

 Singapore
 USA
USA 
 Finland


 Love we get from the world