

TL;DR
- SVGs are scalable, lightweight, and customizable, making them ideal for modern mobile UIs over raster images like .png or .jpg.
- react-native-svg-transformer lets you import SVGs as components, allowing full control over styling and dimensions directly in your code.
- Setup is simple: install two packages, update metro.config.js, and import SVGs using ES module syntax.
- Avoid common issues by restarting Metro with cache reset and not using require() for SVGs.
- Need expert help? Hire React Native developers and book a free 30-minute consultation to get started.
Introduction
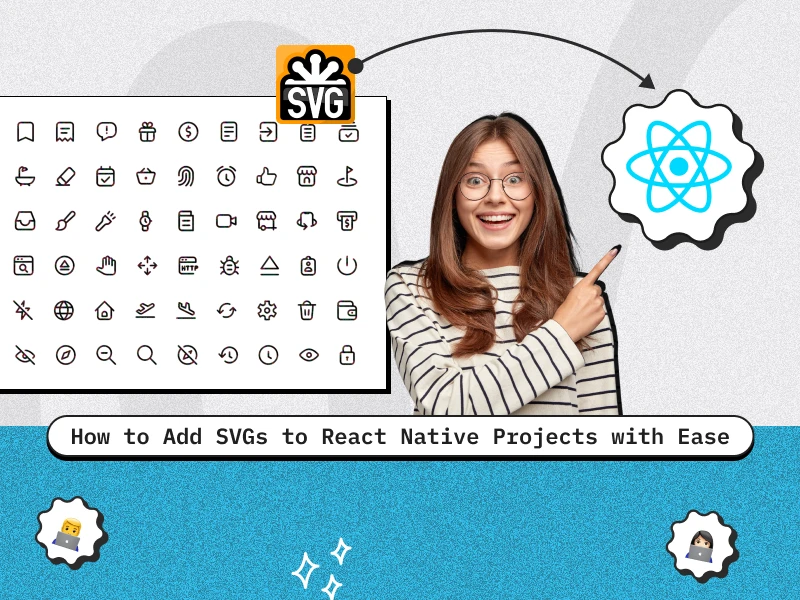
SVGs are a must-have in modern mobile app development—offering scalability, smaller file sizes, and easy customization. But when it comes to using them in React Native, developers often hit roadblocks due to lack of native support for SVG imports. That’s where react-native-svg-transformer steps in to simplify the process.
In this guide, you’ll learn why SVGs are a better choice than traditional raster formats like .png and .jpg, how to configure your React Native project to support them, and tips to avoid common pitfalls. Whether you’re building an icon-rich UI or lightweight animations, SVGs can significantly improve your app’s performance and appearance.
And if you’re looking to build a feature-rich mobile app using best practices like SVG optimization, partnering with an experienced React Native app development company can help you get there faster.
In this post, we’ll break down:
- Why you should use SVGs instead of raster images like .png or .jpg
- What react-native-svg-transformer is
- How to set it up and use it in a React Native project
- Tips, gotchas, and bonus tricks
Why Use SVGs Instead of .jpg/.jpeg/.png?
Before jumping into the code, let’s clear up why SVGs are such a game-changer:
1. Scalability
SVGs are vector-based, meaning they scale perfectly on all screen sizes—no pixelation, ever. Compare that with .png or .jpg, which get blurry when stretched.
2. Smaller File Sizes (Usually)
SVGs are just text files describing shapes and paths. This often makes them smaller than high-res .png or .jpeg files.
3. Customizability
Since SVGs are made up of XML-like markup, you can:
- Change colors
- Animate paths
- Modify dimensions Right from your JavaScript/TypeScript code—without needing separate image assets.
4. Performance
SVGs don’t need to be decoded like raster images, so they can be lighter on memory usage, especially for icons and UI elements.
What is react-native-svg-transformer?
react-native-svg-transformer is a transformer plugin for React Native’s Metro bundler that lets you import SVGs as React components.
Instead of loading an SVG as an image like this:
<Image source={require("./logo.svg")} />;You can write:
import Logo from "./logo.svg";

<Logo width={100} height={100} />;
Yes—it treats the SVG as a full-on component.
How to Set It Up (Step-by-Step)
Works with bare React Native projects. If you’re using Expo, you’ll need EAS and a custom dev client.
1️⃣ Install the packages
Run the following in your project:
npm install react-native-svg react-native-svg-transformer
or with yarn:
yarn add react-native-svg react-native-svg-transformer2️⃣ Configure the Metro bundler
Create (or edit) the metro.config.js file at the root of your project:
const { getDefaultConfig } = require("metro-config");

module.exports = (async () => {

   const {

       resolver: { sourceExts, assetExts },

   } = await getDefaultConfig();

   return {

       transformer: {

           babelTransformerPath: require.resolve(

               "react-native-svg-transformer"

           ),

       },

       resolver: {

           assetExts: assetExts.filter((ext) => ext !== "svg"),

           sourceExts: [...sourceExts, "svg"],

       },

   };

})();
This tells Metro to treat .svg files like code instead of static assets.
3️⃣ Use your SVG as a component
Assuming you’ve placed an SVG file at assets/logo.svg, use it like this:
Tsx
import React from "react";
import { View, StyleSheet } from "react-native";
import Logo from "./assets/logo.svg";


export default function App() {
   return (
       <View style={styles.container}>
           <Logo width={120} height={120} />
       </View>
   );
}


const styles = StyleSheet.create({
   container: {
       flex: 1,
       alignItems: "center",
       justifyContent: "center",
   },
});
That’s it! No extra components, no special wrappers. It’s just a normal React component.
Common Issues and Fixes
“Unable to resolve .svg module”
Make sure you:
- Restart the Metro bundler after changes:
npx react-native start --reset-cache- Don’t use require(‘./logo.svg’)—you need to use ES module imports:
import Logo from './logo.svg'Expo Users
This won’t work out of the box with Expo Go. You’ll need to use EAS Build and create a custom development client to support custom Metro configs.
Bonus: Animate SVGs
SVGs opened up as components also mean… animations! 🎉
You can use libraries like:
- react-native-svg-animations
- react-native-reanimated + react-native-svg
For example, you can animate stroke or path lengths to create “drawing” effects.
Conclusion
SVGs are a game-changer in React Native development—delivering scalable graphics, faster load times, and effortless customization. Thanks to react-native-svg-transformer, integrating SVGs into your project becomes as easy as importing any other component, giving you clean visuals without the overhead of raster images.
Whether you’re optimizing UI performance or adding rich visuals to your app, SVGs offer a modern, developer-friendly solution. And if you want expert help implementing best practices like this in your next project, you can hire React Native developers with hands-on experience in building pixel-perfect, high-performing apps.
Ready to bring your app idea to life? Book a free 30-minute consultation and get expert guidance tailored to your business needs.

Nirmalsinh Rathod
Director - Mobile Technologies
Nirmalsinh is a Mobile Evangelist with 12+ years of experience and over 100 iOS and Android app releases. He specializes in crafting pixel-perfect UIs from Figma, integrating APIs, authentication, payments, and push notifications, optimizing performance, and delivering store-ready applications with clean, maintainable code.


 30 mins free Consulting
 10 min read


 USA
USA 


 Love we get from the world